How to install windows drivers for the LaunchPad on Windows XP. This is the third of three steps. First you install Keil, and then you install TExaS. After these two steps are complete then you follow these directions to install drivers for the LaunchPad. There are a total of three drivers to install.
1) Find the folder named windows_drivers, which includes the drivers. Start looking in: ../Keil/TExaSware/windows_drivers
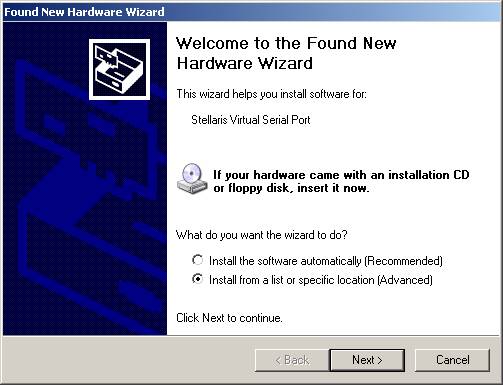
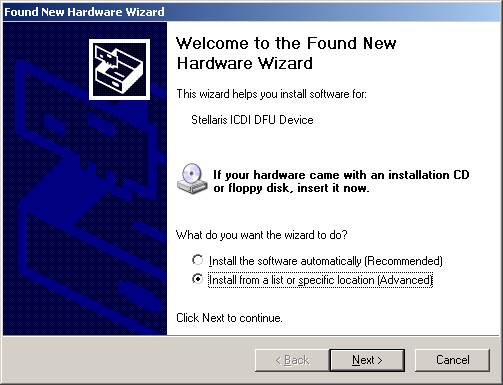
2) Plug in the LaunchPad into a USB port. Pick the USB port you will most likely want to use. Plug the mini-USB into the socket labelled Debug. Make sure the LaunchPad power is on. There is a slider switch near the USB that should be in the Debug position. The green LED near the USB will illuminate when power is applied. You should get the following dialog. Choose Install from a list or specific location.
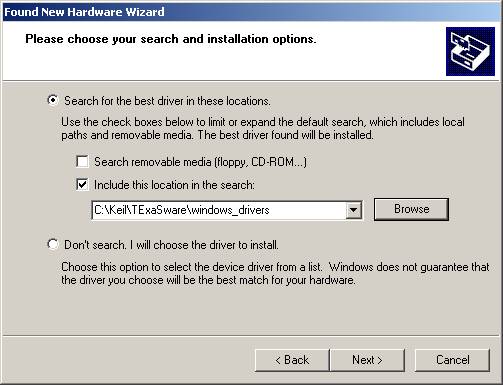
3) In this dialog, press Browse and find the folder from step 1 with the windows drivers. After the file path directs to the folder with the drivers, click next.
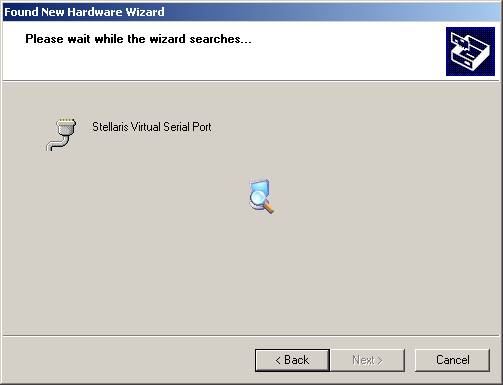
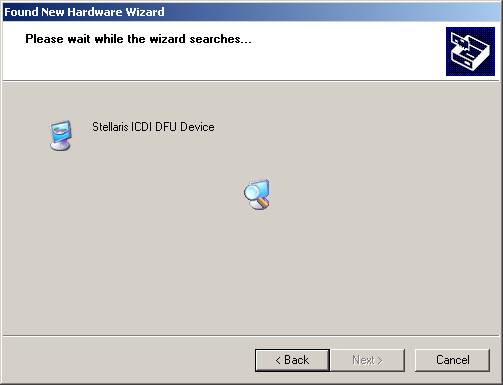
4) Wait will it searches for the correct drivers
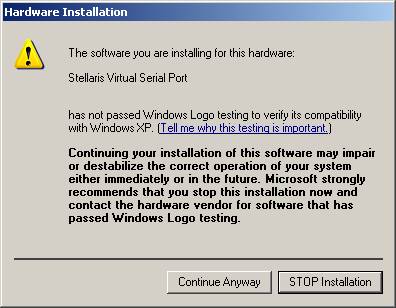
5) If you get a warning, select Continue Anyway
6) For each device, you should get a "The wizard has finished..." dialog
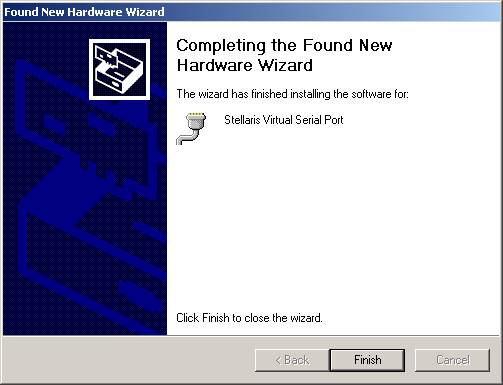
7) Repeat for the second driver


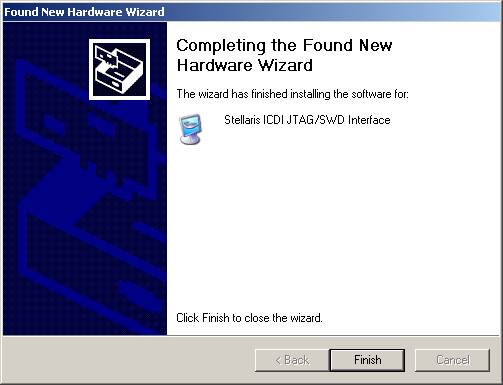
8) Repeat for the third driver

If you open the device manager there should be no error flags (devices without drivers). However, if you do see one of the three Stellaris devices with a driver error, try right-clicking on the device with error and select update driver, and try the process again. Sometimes it doesn't install on the first try, but does install on the second try.

Note that the computer shown above has two COM ports (COM13 is the Stellaris board). If you see more than one COM port, write down the number associated with the Stellaris Virtual Serial Port. This number will be used in the settings command of TExaSdisplay you will use for labs 5, 11, and 14.